
By Parshati Patel, PhD
Astrophysicist
Beginner’s Guide to Astrophotography
Spring and summers offer us warm temperatures and the ideal time to look up and enjoy the night sky! While stargazing in itself is fun, technology has made it easy and accessible for many to capture the night sky with astrophotography.
Astrophotography is a field in which you photograph astronomical phenomena, events and objects, and even parts of the night sky. Depending on the technology, you can photograph auroras, Moon, planets, comets, constellations, Milky Way, other galaxies, star forming regions and more! One of the most common objects to capture without fancy, expensive tools is our own Milky Way galaxy. In this how-to guide, let’s learn how to photograph the Milky Way.
Pre-planning
No matter what type of astronomical objects, events or phenomena you want to photograph, you have to do some planning ahead of time. There are a few simple tools and techniques you can use to ensure you take sharp and elegant photos.
To plan your image, you will need to collect information on the following:
- Weather: Clear skies are a must to capture the galaxy. Best place to start is your local weather report or use apps such as Clear Outside. You can also use the Clear Dark Sky website check the weather in your vicinity.
- Location: Location is not only important for the composition of an image but also because you will have to avoid light pollution from cities to be able to capture the Milky Way. Clear Dark Sky website allows you to access the light pollution map and find an area close by where you can see darker skies.
- Moon: Believe it or not, you do not want full or even partial Moon in the sky when photographing the galaxy. You can use the Time and Date website to figure out when and at what phase the moon will be in, in the night sky.
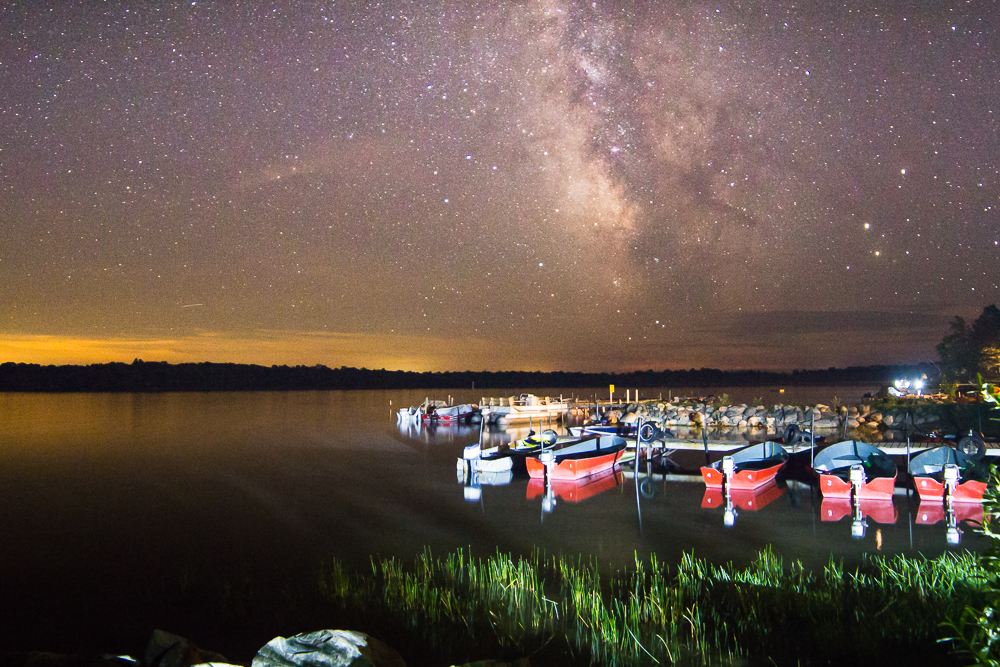
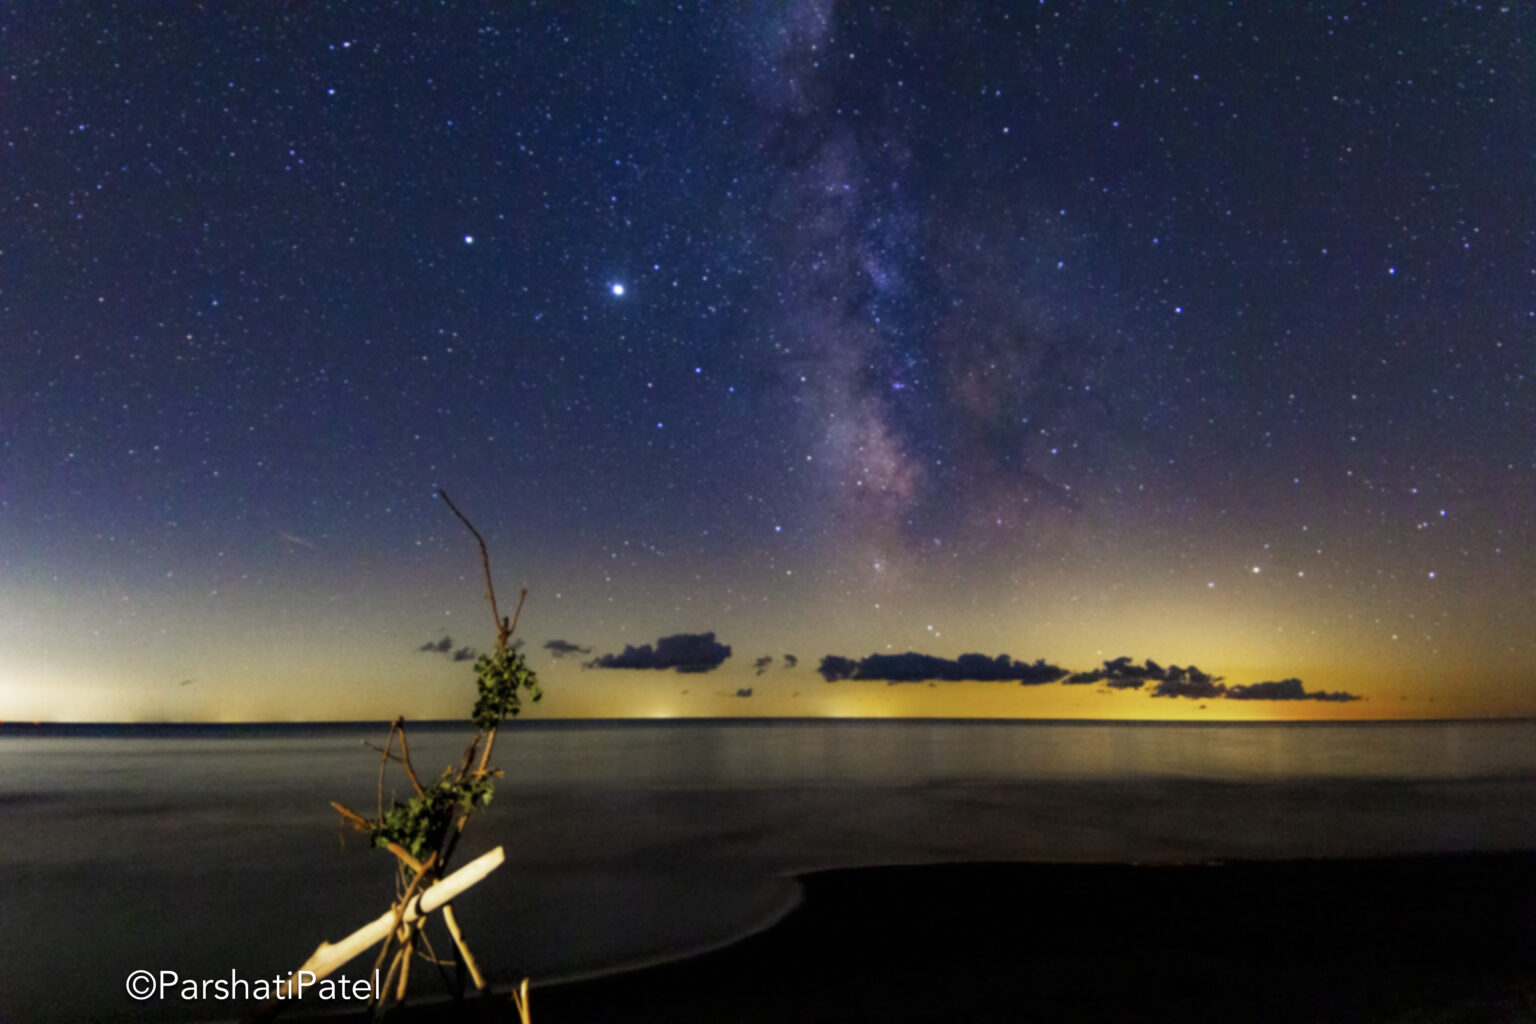
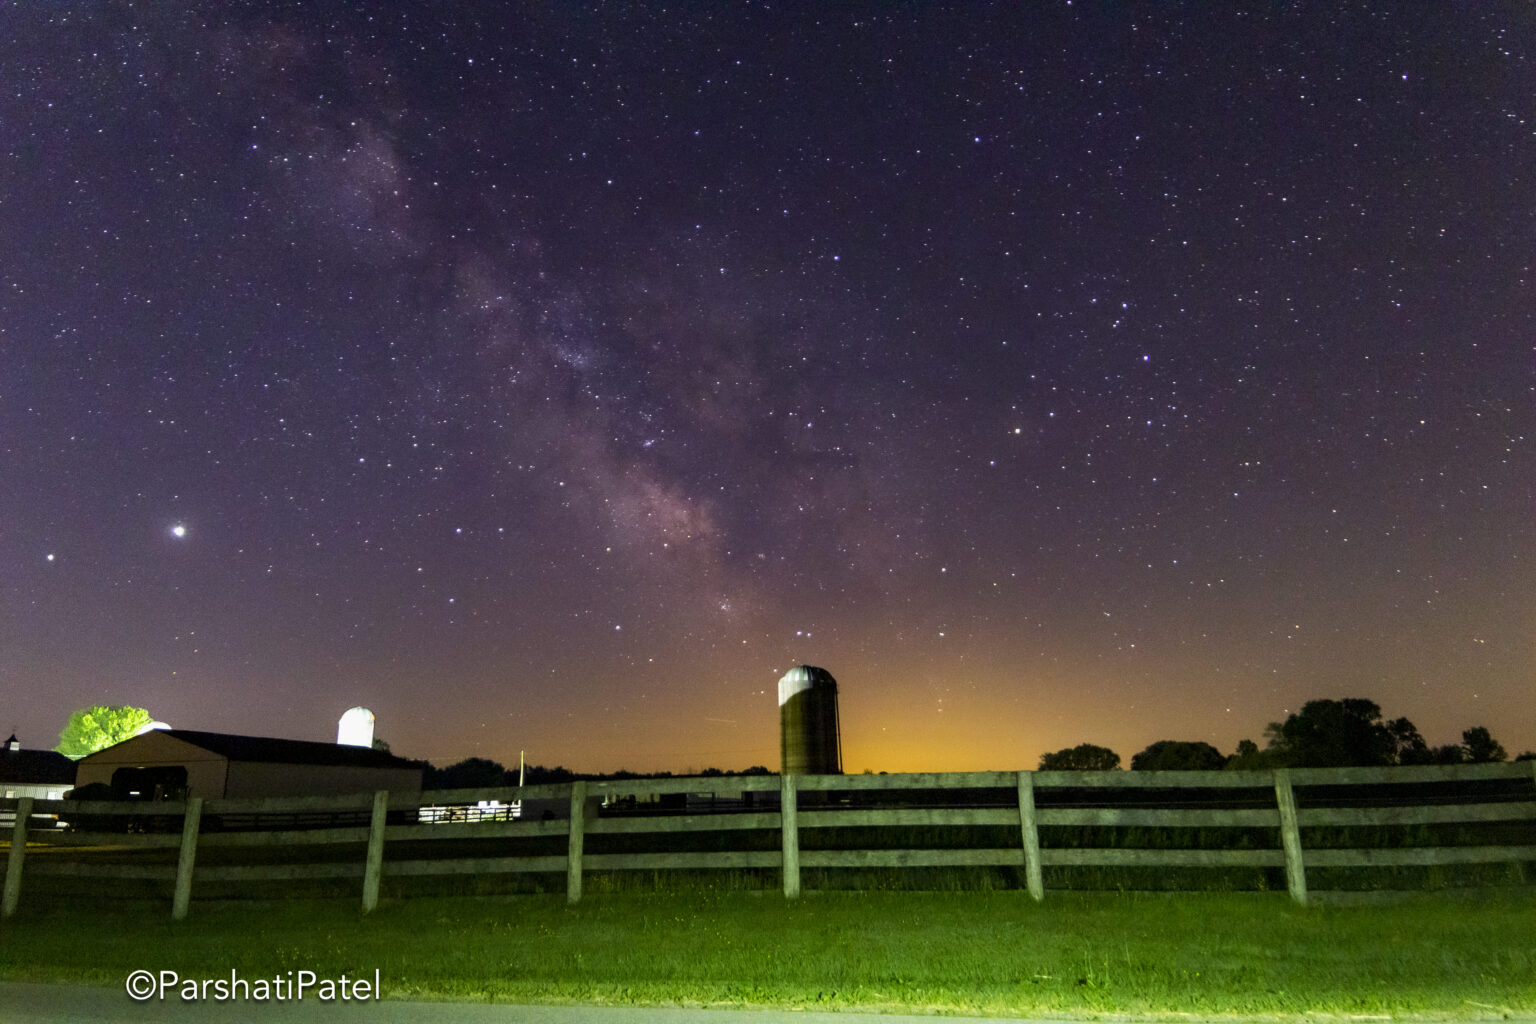
- Milky Way: The core of the Milky Way is the most interesting part of the galaxy to photograph. The core or the centre of the galaxy is where you find the most stars and dust. The core along with some interesting landscape in the image makes for a very compelling shot.
- When to look: If you want to shoot the core of the Milky Way, it depends on the season and your location. Generally speaking, for the northern hemisphere, the Milky Way season goes from February to October. However, the best time to capture the core is between May and August.
- Where to look: You will also need to know where to look for the Milky Way. In the Northern Hemisphere, depending on the time of the year, the galaxy rises between East and West while looking towards South direction. Stellarium software can be used to determine the rise and set time as well as the direction in which the galaxy will rise.
Settings
In order to collect the most light from the faint stars and dust in the galaxy, there are few aspects of basic photography you will need to know. To understand the basics, imagine your camera is like a window with shutters that open and close. Let’s explore some settings of your camera (or window and shutters), but feel free to experiment and observe how the image changes as you change the settings:
- Aperture: Aperture is the size of the window. If it is bigger, more light comes in and the room is brighter. Hence, we will have to ensure that our camera’s shutter is open the widest. Aperture values are most commonly denoted by “f”. The small the f number, the wider the camera’s shutter is open. Set your aperture to be f/3.5 or larger.
- ISO: This is the sensitivity of your camera’s sensor. Imagine you are standing inside a room, holding a light sensitive paper. The more sensitive it is, the more light, it will collect. The higher the ISO value, the more sensitive your camera is. If you’re using a DSLR or Mirrorless camera, start at 1600. For cellphone cameras, start with the highest ISO that is available.
- Shutter speed: Shutter Speed is the amount of time that the shutters of the window are open. The longer you leave them open the more light comes in. Start with 20 seconds. You do not want to leave the shutter open for longer than 30 seconds as it will create streaks in the image from the motion of the stars.
More Tips
More Important Tips:
- Arrive at your location before it gets dark! This allows you to visualize your images.
- If it is going to be cold, bring a hot or warm drink, and dress appropriately.
- If you have a wide lens for your DSLR or Mirrorless camera, open it at the widest focal length (14mm or 18 mm).
- To adapt your eyes to the dark so you can see more stars, do not look at white or bright lights for at least 20-30 mins before you begin. Instead use faint red light.
And there you have it! You are all set to plan your trip to the darker skies and capture the core of the Milky Way this summer! Don’t forget to be creative and find interesting objects you can include in the shots. We wish you clear skies ahead!